Have you ever had that frustrating situation where you can’t get your edible image off the backing paper? Don’t panic – it can happen to anyone! Below we detail the reasons and simple solutions to resolve this…

5 Simple Techniques to Remove Photo Icing Off
First of all, what causes the icing to stick to its backing?
There are a couple of factors at play when peeling icing:
Room conditions: Humidity is the primary reason why the icing image gets stuck to the backing. In this environment the icing collects moisture, effectively ‘clinging’ to the backing sheet.
Icing thickness: The thinner the icing it is, the more fragile it is to remove. If you are regularly facing an issue peeling from the backing, have a chat with your supplier to see if there are any thicker sizes available, or ask in the community here or on Facebook.
So what does this mean?
Quite simply, to be able to peel your icing sheet off the backing, you need to remove the moisture / humidity from the icing. So below we summarise all the common techniques used to solve this. In some cases you may find you need to do a combination of these techniques to remove the icing. It will always work – just be patient!
The 5 different techniques for removing your icing from the backing paper
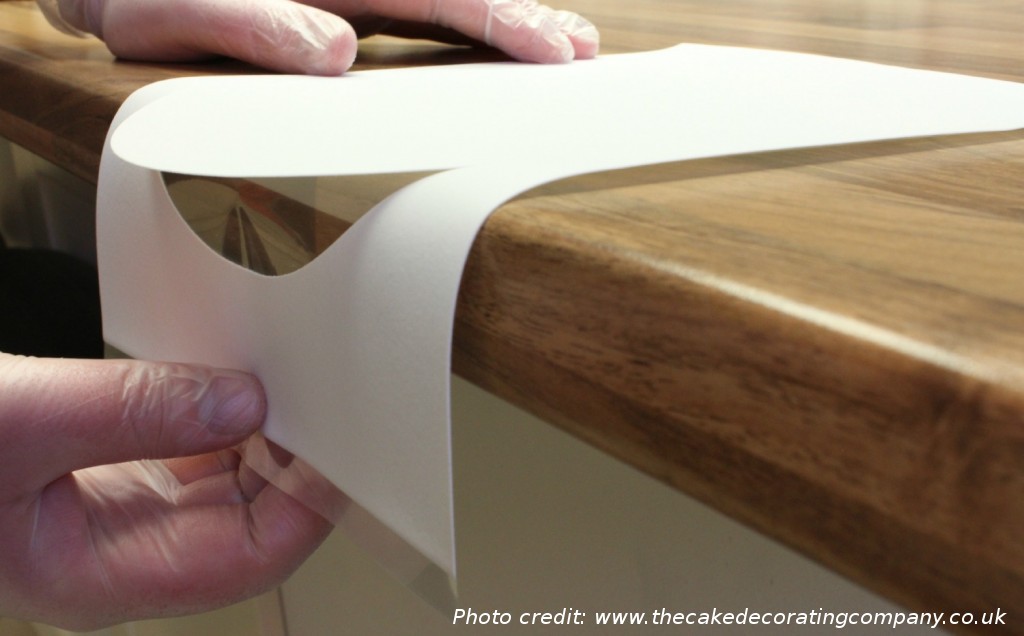
Option 1: Edge of a table
If the icing is starting to peel away as you bend the backing, use the edge of a table to help release it. An important thing to note is that you are trying to peel the backing away from the icing, not the other way round, since the icing is very delicate. Run the backing sheet back and forth over the tabletop corner and you should see it starting to loosen.

Option 2: Pop in freezer
This is by far the easiest way of removing the icing if you are having issues. The humidity within a freezer is generally very low, and with the cold temperature the icing will harden up very quickly. See the video below for an example on this (steps 2 and 3). The key to this is speed – we’re talking just a few seconds before the icing starts to return to its old state again. You can repeat this multiple times if necessary, and use the table technique to help easy away the icing if necessary.
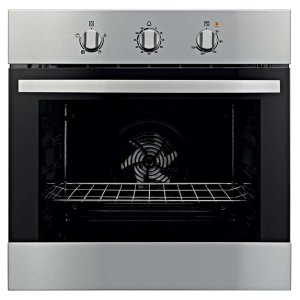
Option 3: place in fan oven
Another way the icing can be removed is through placing in a warm fan oven for around 10 minutes (warm, not hot – you’re not trying to burn them off!). The heated air will gradually remove the moisture sticking the icing to its backing.

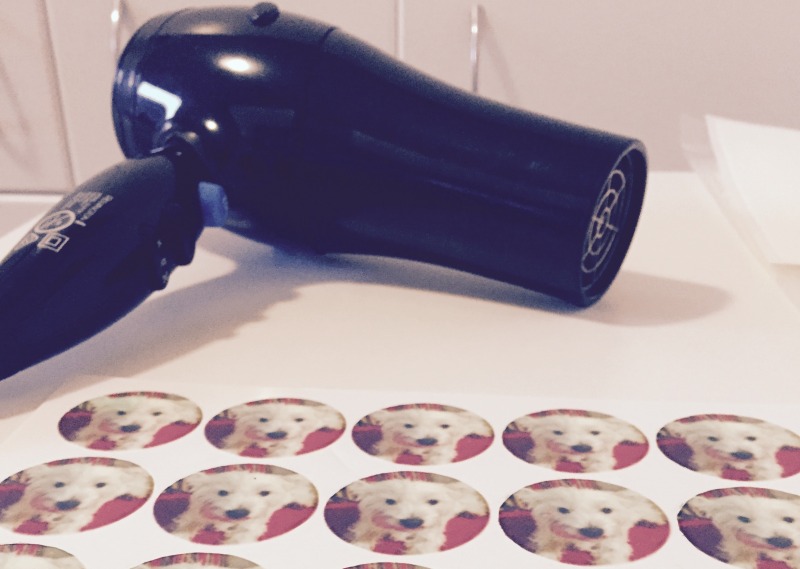
Option 4: use a hair dryer
If you don’t have a fan oven, turn over the icing sheet onto its backing on a clean and dry surface, and use a hairdryer for a minute or two to dry out. Why turn onto its backing? With the force a hairdryer creates, facing down onto the sheet could risk the icing to peel up and break.

Option 5: Use a heating mat
Something recommended by Deco UK – if you are working very regularly with edible images and face removal issues, it may be worth investing in a Reptile Heating Pad like this one, or a similar heating plate. Simply leave on the mat for around 10 minutes, and you will find you can naturally peel away the backing as the moisture evaporates from the sheet, as shown in the video.
So there you have it, 5 techniques to help remove icing from its backing. The key is to be patient, particularly if it is humid, and don’t be afraid to mix up all the different techniques to get there. For instance popping in the fan oven, and then in the freezer to harden and peel away the icing.
What techniques work best for you when peeling icing sheets? Let us know in the comments below.


Brilliant advice! This week we’ve had some humid weather in Queensland and this has been a big problem. Read this advice and did the oven to dry out, and then into the freezer for a few seconds, brilliant, popped straight off. Thanks for your great advice guys!
Thanks Mardi, glad we could help. Good to hear that combining a couple of the techniques worked for you!
What using a dehydrator?